Astro Photography 101
Written By : Dalton Johnson
Taking that first step into the darkness of the night can be a daunting task. At first, frustration will be ever-present as you are inundated with vocabulary, the desire to buy new gear, and the hard reality that conscious practice makes perfect. This post is more about the periphery of astrophotography instead of a traditional “how to create astrophotography” manual that dives into camera settings or editing techniques. It's the things you don’t consider when starting that take the most time to discover.
Scout the location
Take a hike! No, really, go on a hike so you can see if there are going to be any red flags for yourself at night. For myself, red flags could look like climbing a steep slope alone without a headlamp or unpredictable water patterns (like slot canyons with a chance of weather). Remember, it's one thing to get to a place during the day, but can you get there under a new moon (aka the darkest night of the month) by headlamp? If not, go during the day and find key landmarks that will get you to where you are going. Something to consider while out; wildlife, sensitive soils (like the desert crust), and the not so obvious cliffs.

When I was first getting into shooting the milky way, I was out near the confluence of the American River in California with my pop, Baja. It was a long night failing as I tried to incorporate the river with the milky way and align the two with the valley. While we thought we were out there alone, we were very wrong. Upon returning to our vehicle, I noticed a set of eyes on the cliff-line above us. Pausing and calling Baja back, we navigated a river crossing and some cliff wandering to avoid a lurking mountain lion. Remember, you are not alone out there, and keep your eyes peeled!
Pro tip:
-Get one of those fancy star apps where you can adjust the time and “see” the sky based on your GPS location for scouting. These apps can help you connect timing and location.
-Go somewhere with a silhouette like arches, a lone tree, or a mountain.
Prep your bag (don’t forget the coffee)
Coffee, coffee, and oh yeah some more coffee. I don’t know about you, but the time between 2:30 and 4:00 am is hard for me to be awake. If you are an expert at not sleeping, then maybe forget about the caffeine, but for those of us who like to be under the covers during those hours, a great cup of Joe will serve you well.

Notice, I put coffee before prepping the bag. That was on purpose. Prepping your bag is important, but something to keep you warm is higher on my priority list. Why prep your bag? Doing so means you don't have to think, you know everything is ready, and it shows you are committed to going out. Shoot astro can be uncomfortable, so making your life easier to get out the door and into the discomfort can be motivation.
In your bag you should have the following:
-camera
-wide-angle lens (something that is in the range of 12 - 24mm and ideally f/2.0-2.8)
-sturdy tripod
-headlamp
-extra batteries
-a snack (oreo's are my preference) or gum
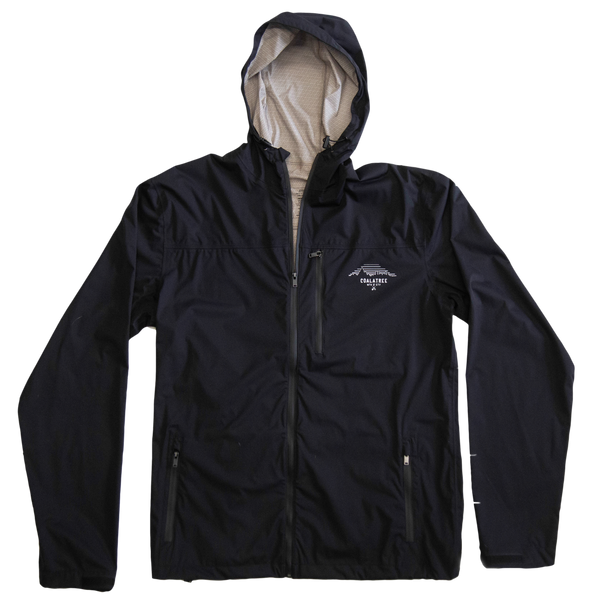
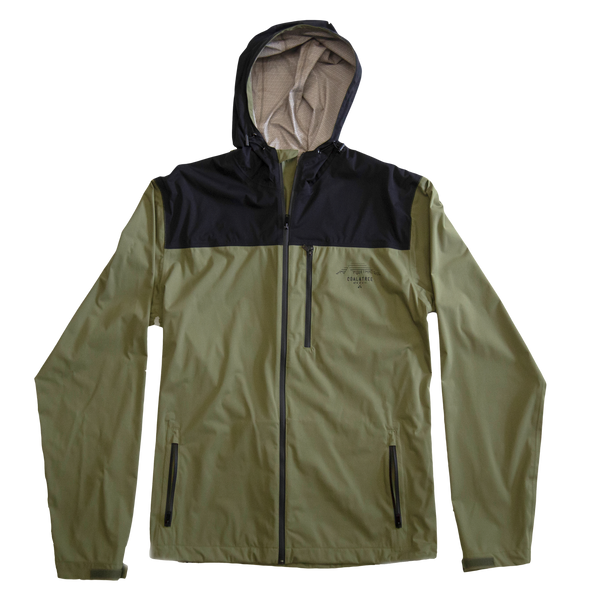
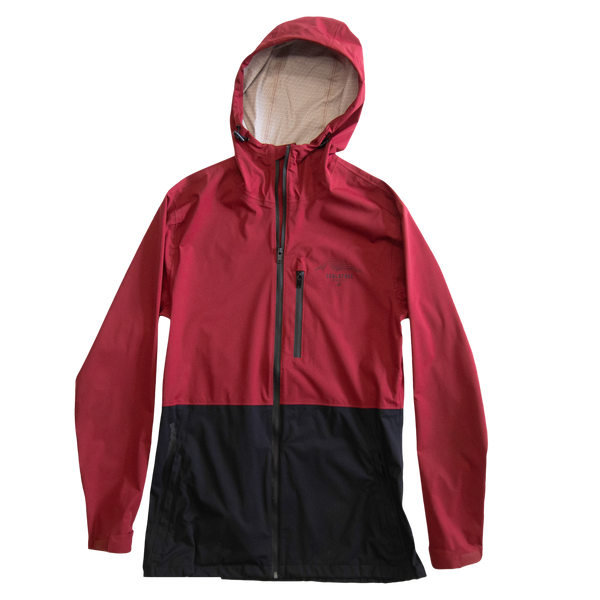
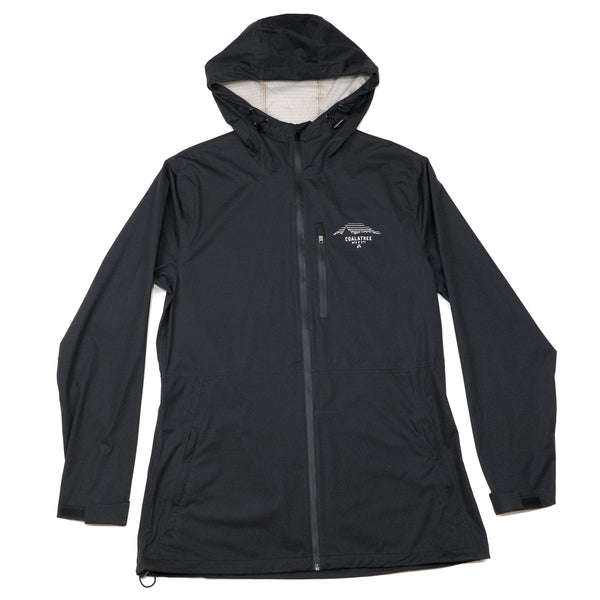
-an extra layer (I would suggest the whistler windbreaker)
Pro tip:
-If you have a top-loading bag, make sure to put your camera on top and your layers at the bottom.
-Put your caffeine in a thermos, it’s going to get cold out there!
Head out and shoot
This is the fun part, get out there, and shoot your heart out! Trial and error, it’s all in the reps! The reality is, astrophotography takes A LOT of practice. The difficult things are focus, alignment, and settings.

Pro Tips:
-Bring a friend! Not only to chat with somebody but using a person in the distance will help with focusing if they are far enough away with a bright headlamp.
-Adjust your Kelvin setting under white balance. I prefer somewhere around 3200-3700K.
-To prevent star traces, there is a formula for a 500 rule, I have never used it because it is too much math (and I have a BS in Mathematics)! The general rule of thumb, don’t allow your exposure length to exceed the length of your lens. Aka a 12mm lens = max of 12 seconds.
-Slam your f-stop as low as it goes and then back it off a stop or two. Aka if you have an f/2 lens, shoot at 2.8.
Most importantly:
GO HAVE FUN!
Edit
The truth of the matter is photography’s ability to capture a length of time and compress it into a still image that makes a photo more magnificent than looking up at the night sky. Because of this, editing has become a significant focus of astrophotography. This can be a nightmare, especially if you botch it; editing takes time, but the key is in the white balance, blacks, and whites. I would suggest playing around with these until you find a style, or look, you like best. I am not a presets guy, but the word on the street is there are some pretty good ones out there!
Share
Be proud of the work you created and share it with your friends, family, and social media peeps. There is no better feeling than seeing somebody's eyes light up when they see something new or different. Luckily, as a creative, you get to do that often!
Astro 201
If you are asking yourself the question, what’s the next step in astrophotography? Well, here are some suggestions:-Time-lapses
-Star-trails
-Using strobes to light the foreground
-Stacked images (if you are into the photoshop life)